Create & Edit WordPress Menus
Estimated reading: 2 minutes
111 views
WordPress menus allow you to control your website navigation, including links to pages, custom links, categories, and custom post types. Brandberry fully supports the default WordPress menu system.
Accessing the Menu Editor
To create or edit menus, go to:
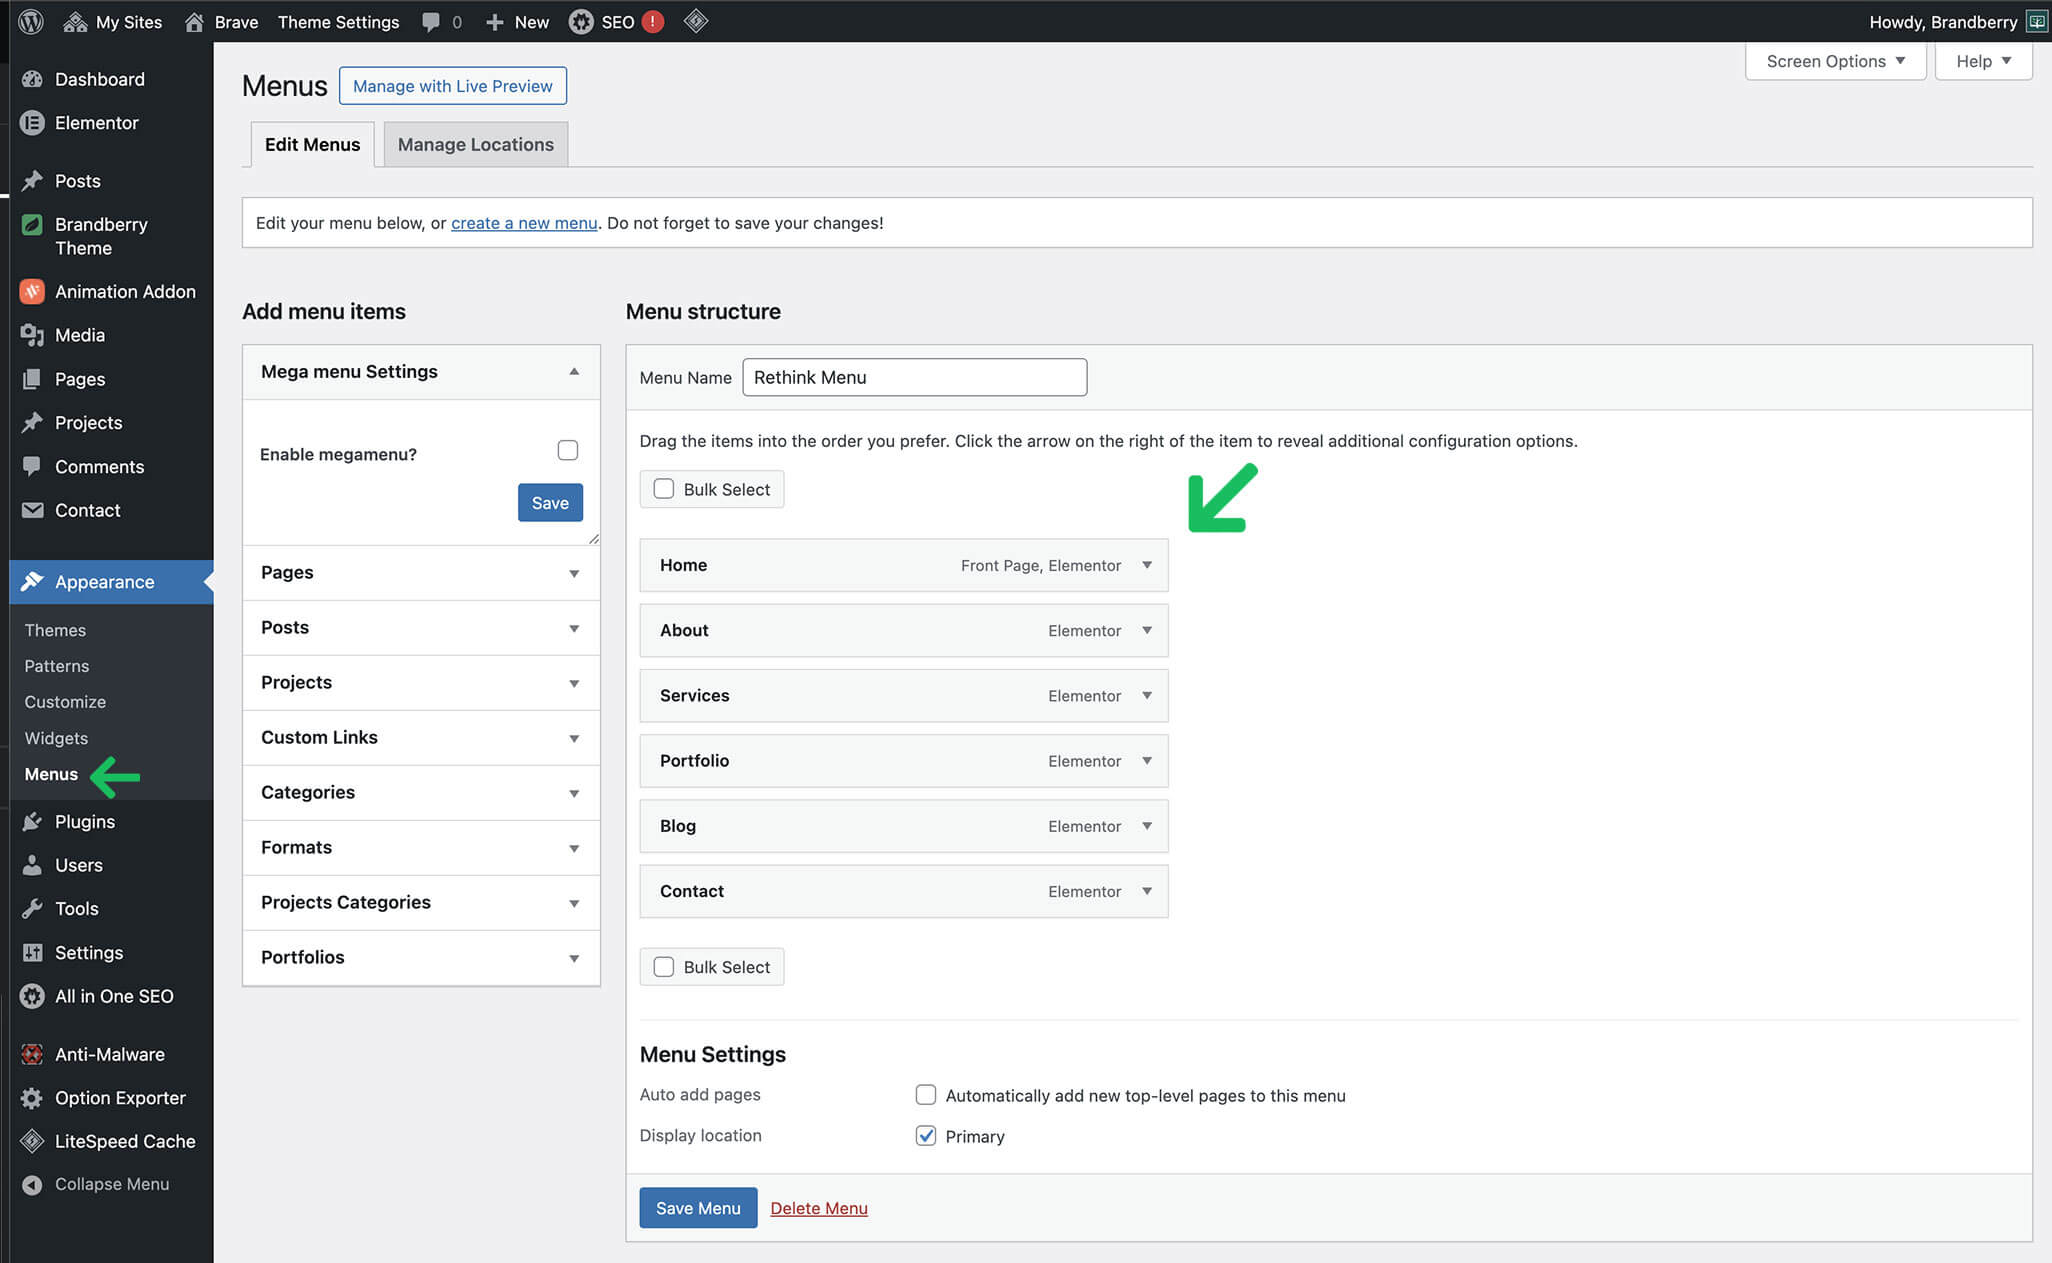
- Appearance → Menus
If you do not have any menus yet, WordPress will prompt you to create one.
Creating a New Menu
- Go to Appearance → Menus.
- Click Create a new menu.
- Enter a menu name (for example: Main Menu).
- Click Create Menu.
Adding Items to a Menu
You can add different types of items to your menu:
- Pages
- Posts
- Custom Post Types
- Categories
- Custom Links
Select the items you want, click Add to Menu, and arrange them using drag and drop.
Menu Structure
Menus support multiple levels. You can create dropdown menus by dragging menu items
slightly to the right under a parent item.
This allows you to build structured navigation menus with submenus.
Menu Locations
Brandberry includes predefined menu locations that can be assigned to your menus.
To assign a menu location:
- Scroll to the Menu Settings section.
- Select the desired Display Location.
- Click Save Menu.
Once assigned, the menu will appear automatically in the corresponding theme area (such as the header or footer).
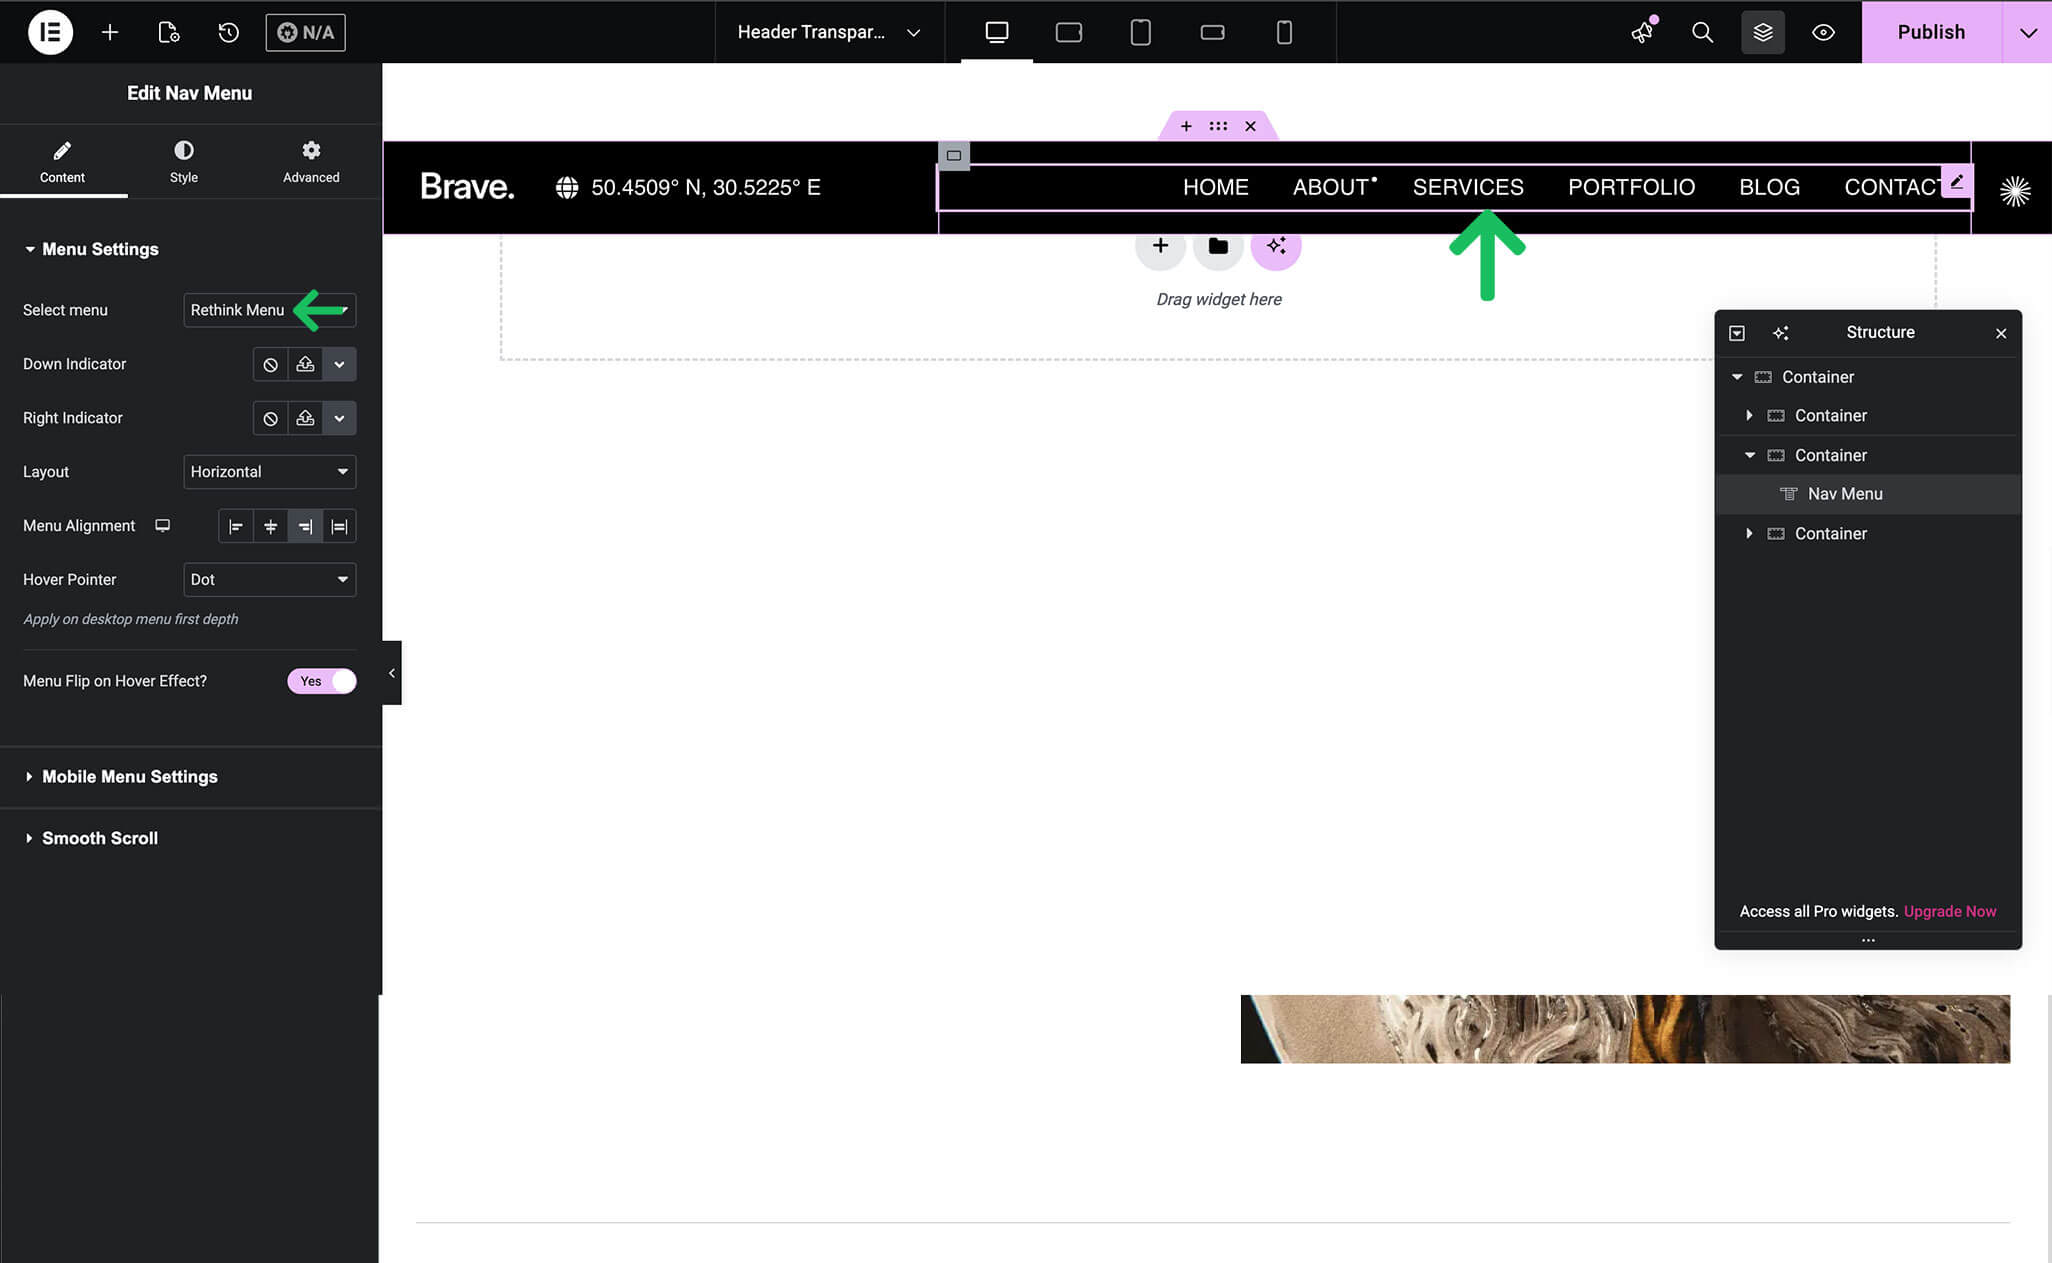
Using Menus with Elementor
If you are building custom headers using Elementor and our Header Theme Builder , you can display WordPress menus using Nav Menu widgets. This widget automatically pull menus created in the WordPress menu editor.
Best Practices
- Keep menu structure simple and easy to navigate
- Use clear and descriptive menu labels
- Avoid adding too many menu levels
- Always save your menu after making changes
Brandberry Mega Menus
If you are building custom headers using Elementor and our Header Theme Builder , you can display WordPress menus using Nav Menu widgets. This widget automatically pull menus created in the WordPress menu editor.